Toothbrush Rug - Frequently Asked Questions

Related Products
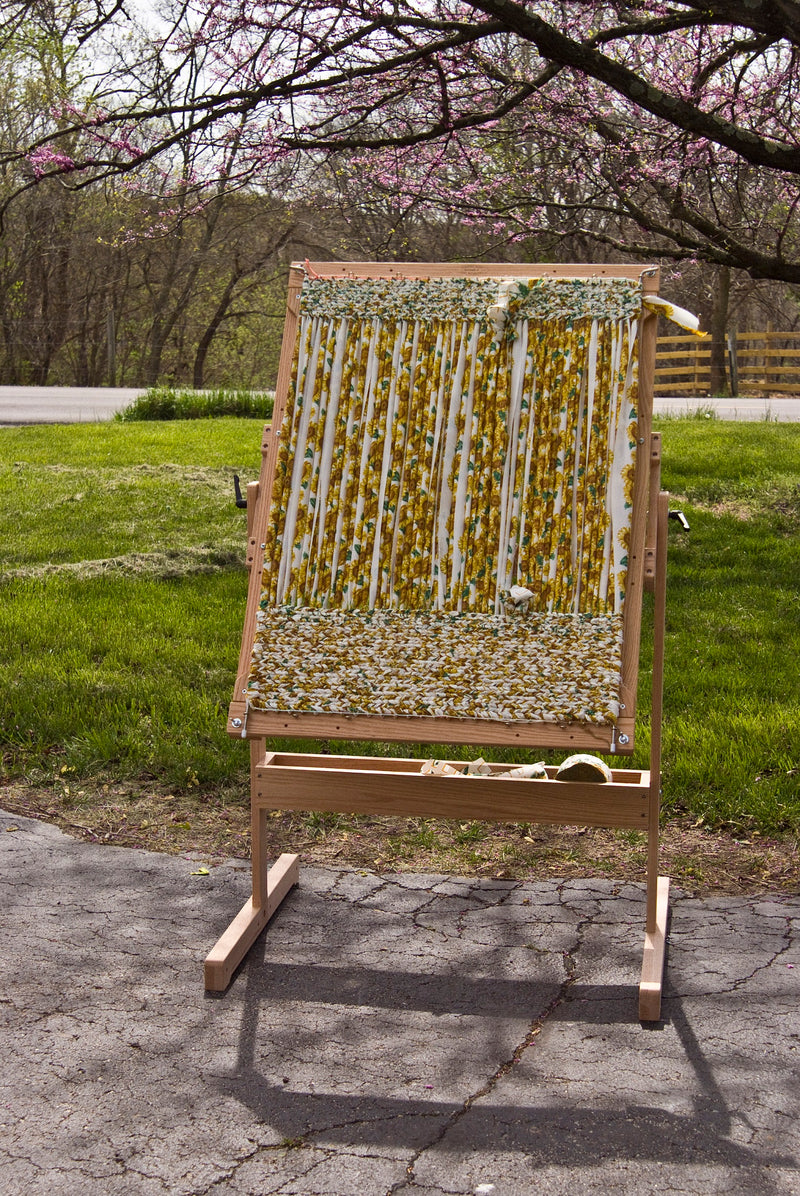

Twining Loom- Rug Loom, Adjustable Twining Loom
$ 165.00
Here he goes again! This time Gary has designed the ultimate Rug Twining Loom! His new loom is Adjustable, making a 24" X 41" Rug, two 22" X 15" place-mats, a 22" X 41" hall runner (just join them for a really looonnnggg runner), table runner/hot pad and whatever else you can dream up for this loom. What--you don't know how to twine? Don'...
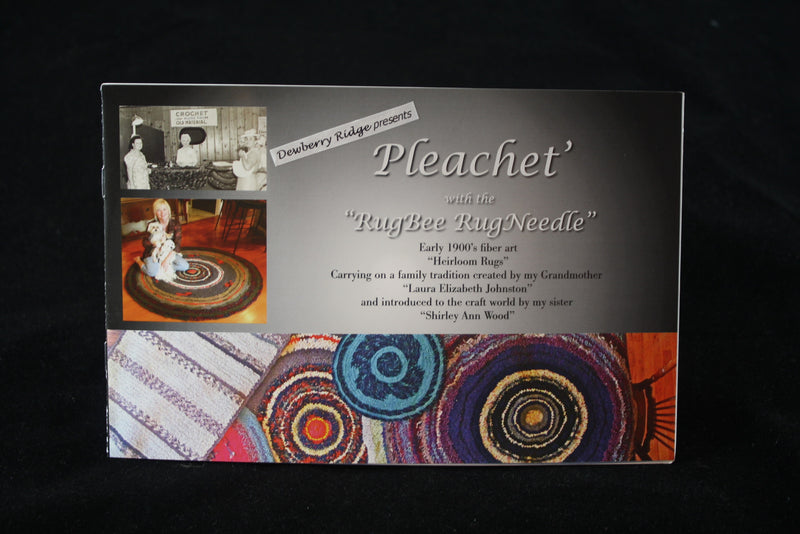
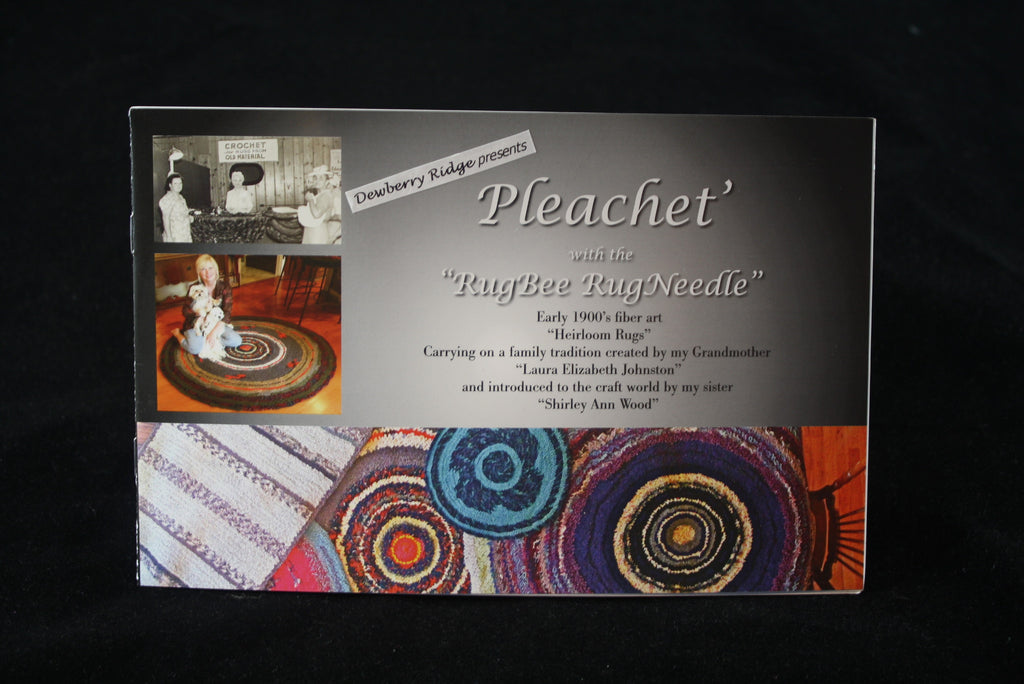
Pleachet Rug Kit (Shirred/Shirret Rugs) w/Rugbee Rug Needle
$ 29.95
We are so excited to offer the Pleachet Rug Kit, featuring the Rugbee Rug Needle. The kit includes the Book, DVD and Rugbee Rug Needle. 100% Cotton Rug Warp also available for $7.50 for 8 oz (enough to do a standard 3' X 4' Rug--See Additional listing)
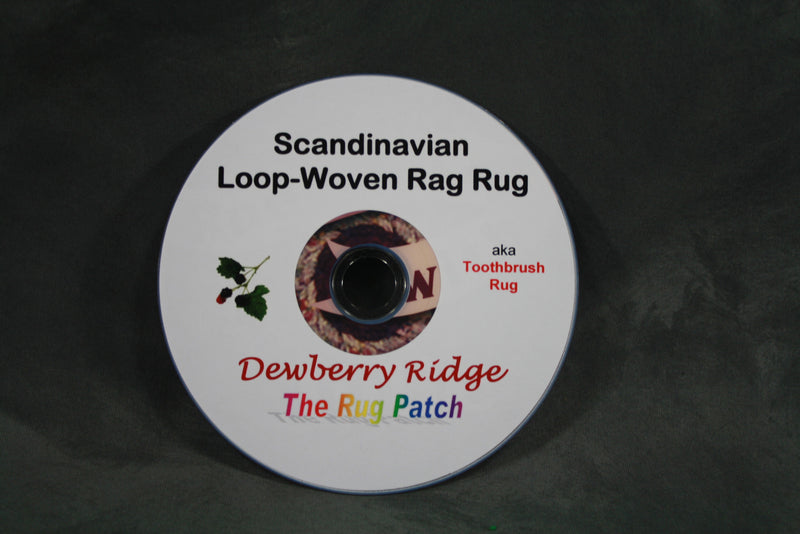
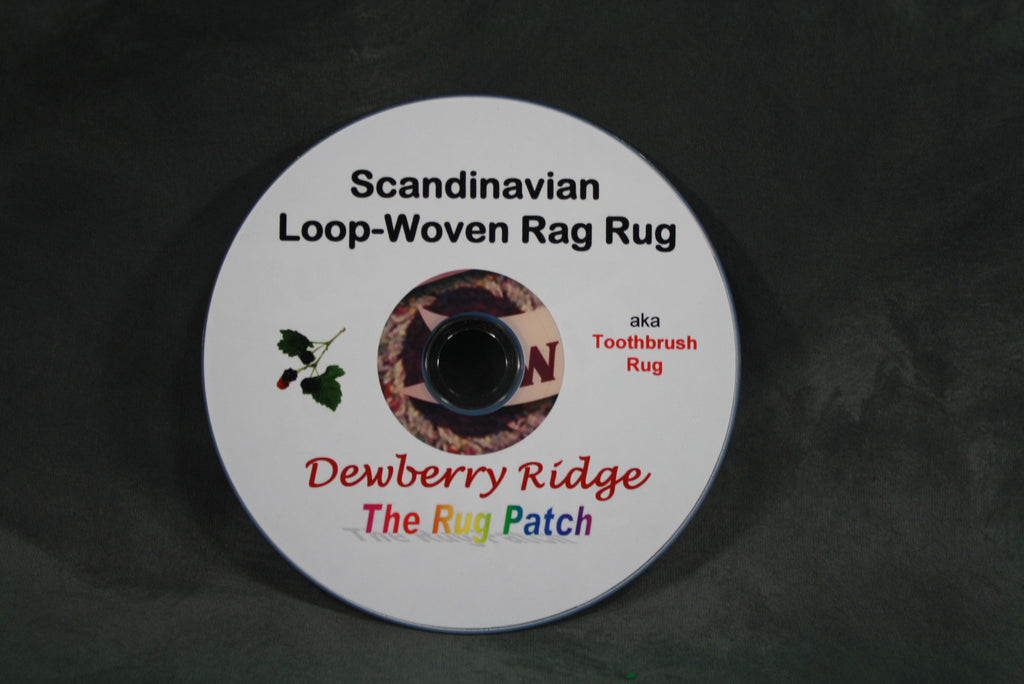
DVD - Toothbrush Rug (Scandinavian Loop Rug) Technique--FREE SHIPPING
$ 10.00
PRICE REDUCTION - $10 - PLUS FREE SHIPPING!! Rugs from the Ridge Toothbrush Rug DVD. It is 1 hour and 35 minutes long and shows how to make the toothbrush rug, left and right-handed. It goes through the round rug, basket, chair cushions, oval rug, place mats, toilet seat cover, heart rug, pillow, and wall hangings, half-moon rug, rectangle rug...
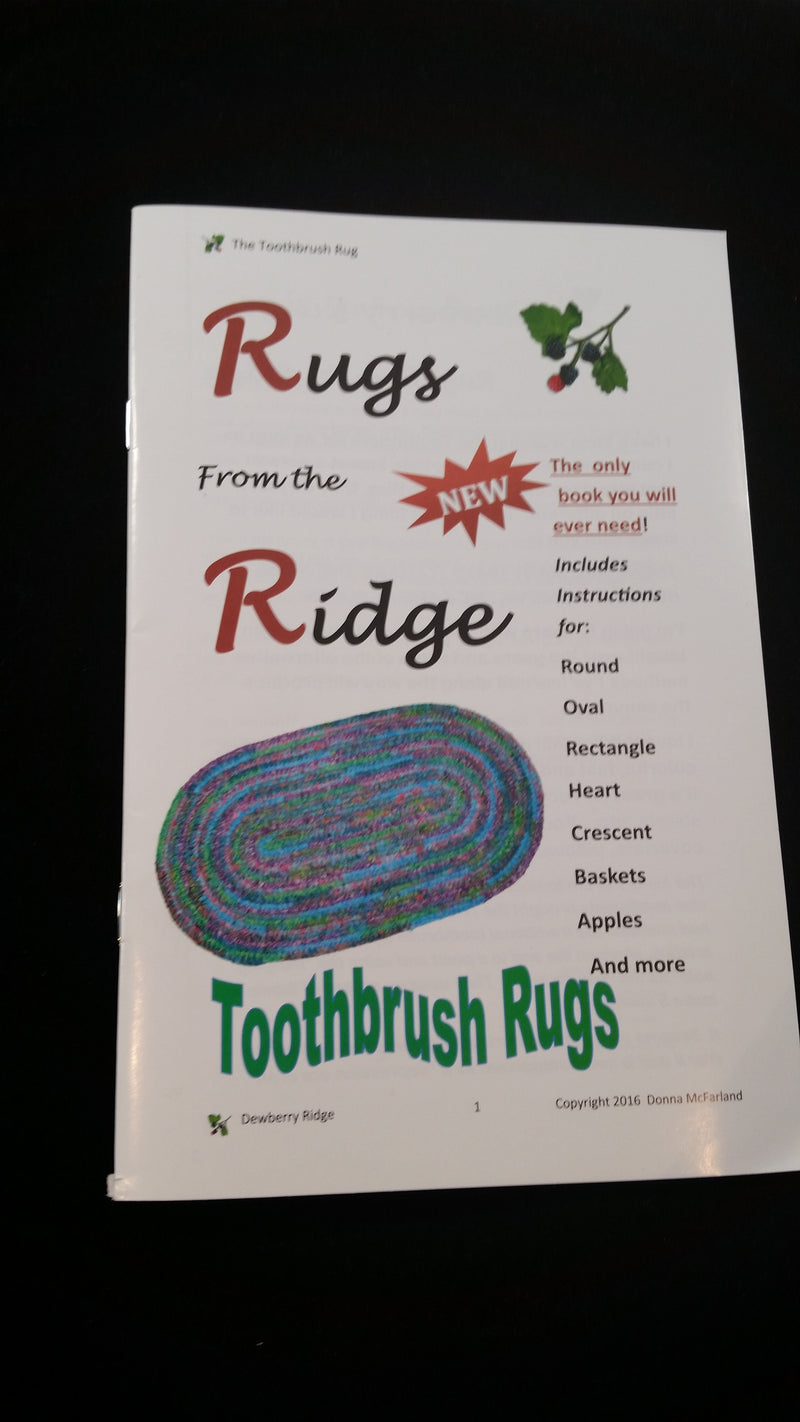

Toothbrush Rug - Scandinavian Loop Woven Rug - NEW Instruction Book
$ 9.75
This is a brand new book and the only Toothbrush Rug instruction book you will ever need! It includes instructions for Round, Oval, Rectangle, Heart, Crescent, Apple and more Rugs in addition to baskets, place mats, and much more. Many color pictures, diagrams and illustrations included; and tips and tricks for making your rug the best. Order ...

Rug Needle
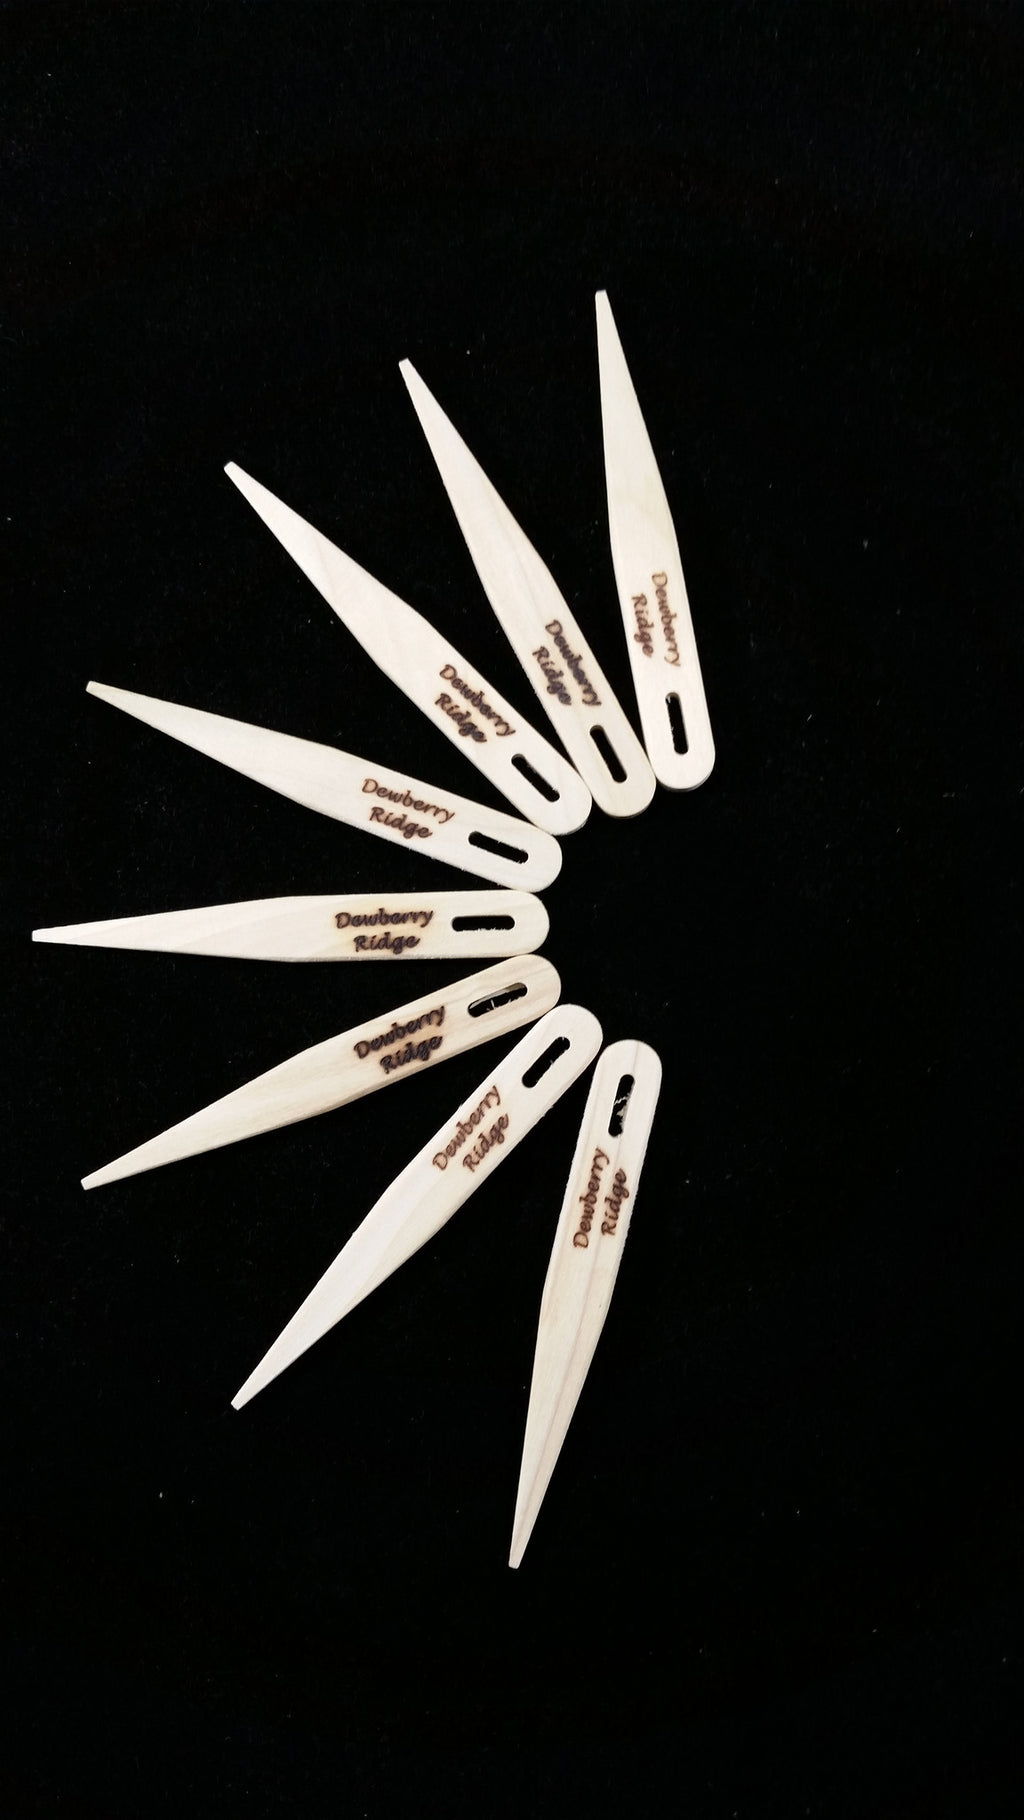
Rug Needle
$ 5.00
Our Dewberry Ridge Needle is provided in every kit and available for purchase from our website: www.dewberryridge.com, or email donna@dewberryridge.com, or call. Our needle is handmade from hard wood (usually Red Oak from Missouri Ozarks). It is specially designed for our Toothbrush Rug to be durable, smooth and easy to use. It is guar...

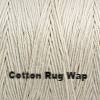
RUG WARP for Pleachet, Shirred, Shirret Rugs
$ 7.50
4-ply100% Cotton Rug Warp is the recommended yarn to crochet your Pleachet, Shirred, or Shirret Rug. An all cotton crochet yarn is non-abrasive to your rug as it moves when walked upon and will be as long-lasting as your beautiful new rug. This is an 8oz ball of cotton rug warp which is more than enough to complete a 3 X 4 foot rug.
Twining Rugs Book

Twining Rugs Book
$ 9.00
Our Twining Loom book illustrates step-by-step instructions how to twine a rug and is full of close-up pictures of each step.. The book includes: List of supplies How to get started Cutting your warp fabric Attaching fabric strips together Warping the loom How to twine the rug or project Finishing your project Caring for your twined project
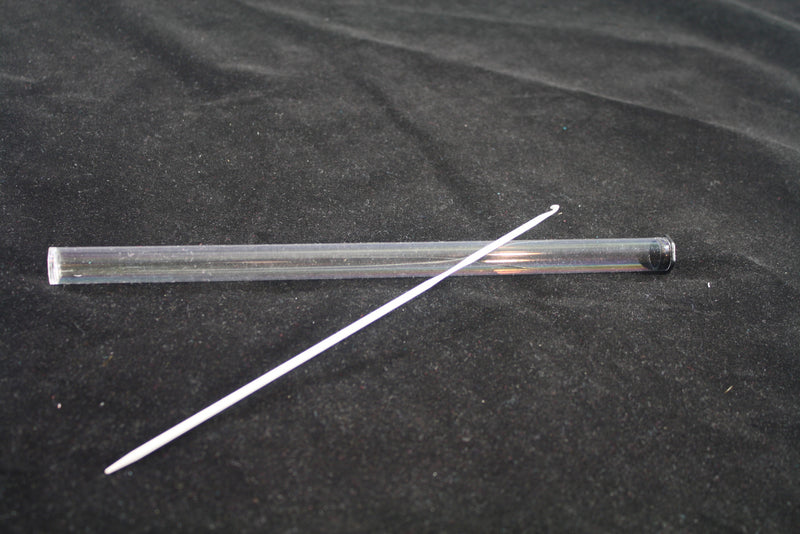
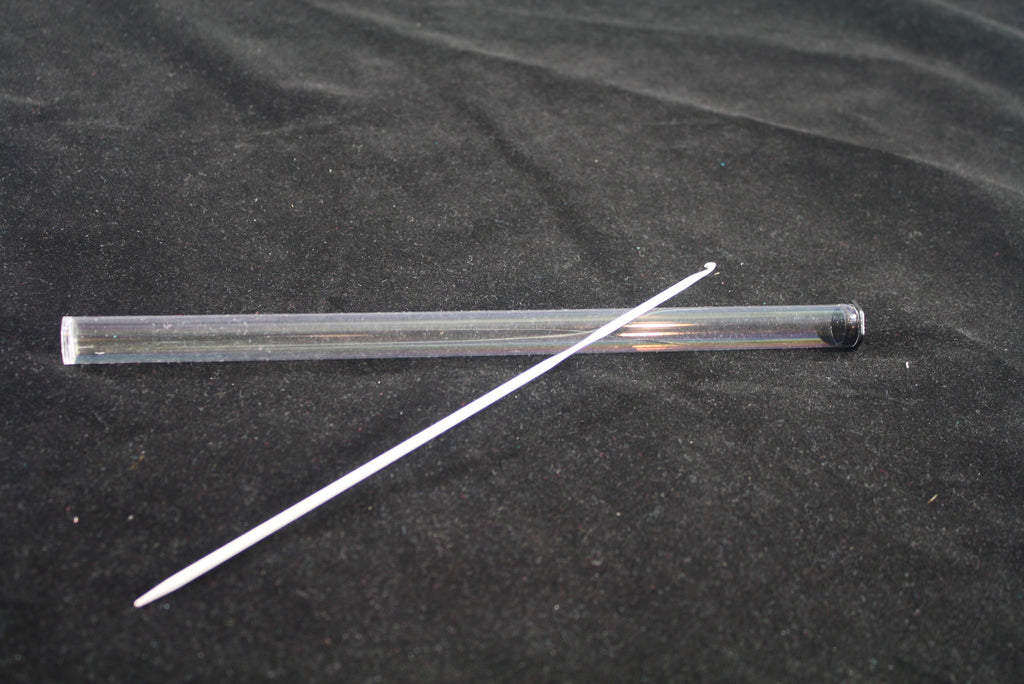
Rugbee Rug Needle for Pleachet Shirret Shirred Rug
$ 12.95
The Rugbee Rug Needle was created out of necessity by Laura Elizabeth Johnson in the early 1900s. She made the beautiful Pleachet rugs for her entire farmhouse--because money was scarce and she used what she had available to make rugs to cover her floors. Today's Rugbee Rug Needle has been updated to a powder coated stainless steel needle. It ...

DVD, Toothbrush Rug Book & Practice Start w/Needle
$ 25.00
This is a great deal!!! Get the DVD, Book and Needle all for only $25--regularly at $35.95 Kit.


Toothbrush Rug Starter Kit - Scandinavian Loop Woven Rug - NEW Instruction Book
$ 12.50
The Starter Kit includes my brand new book and the only Toothbrush Rug instruction book you will ever need! You will also receive our handmade needle and a rug start. My book includes instructions for Round, Oval, Rectangle, Heart, Crescent, Apple and more Rugs in addition to baskets, place mats, and much more. Many color pictures, diagrams an...